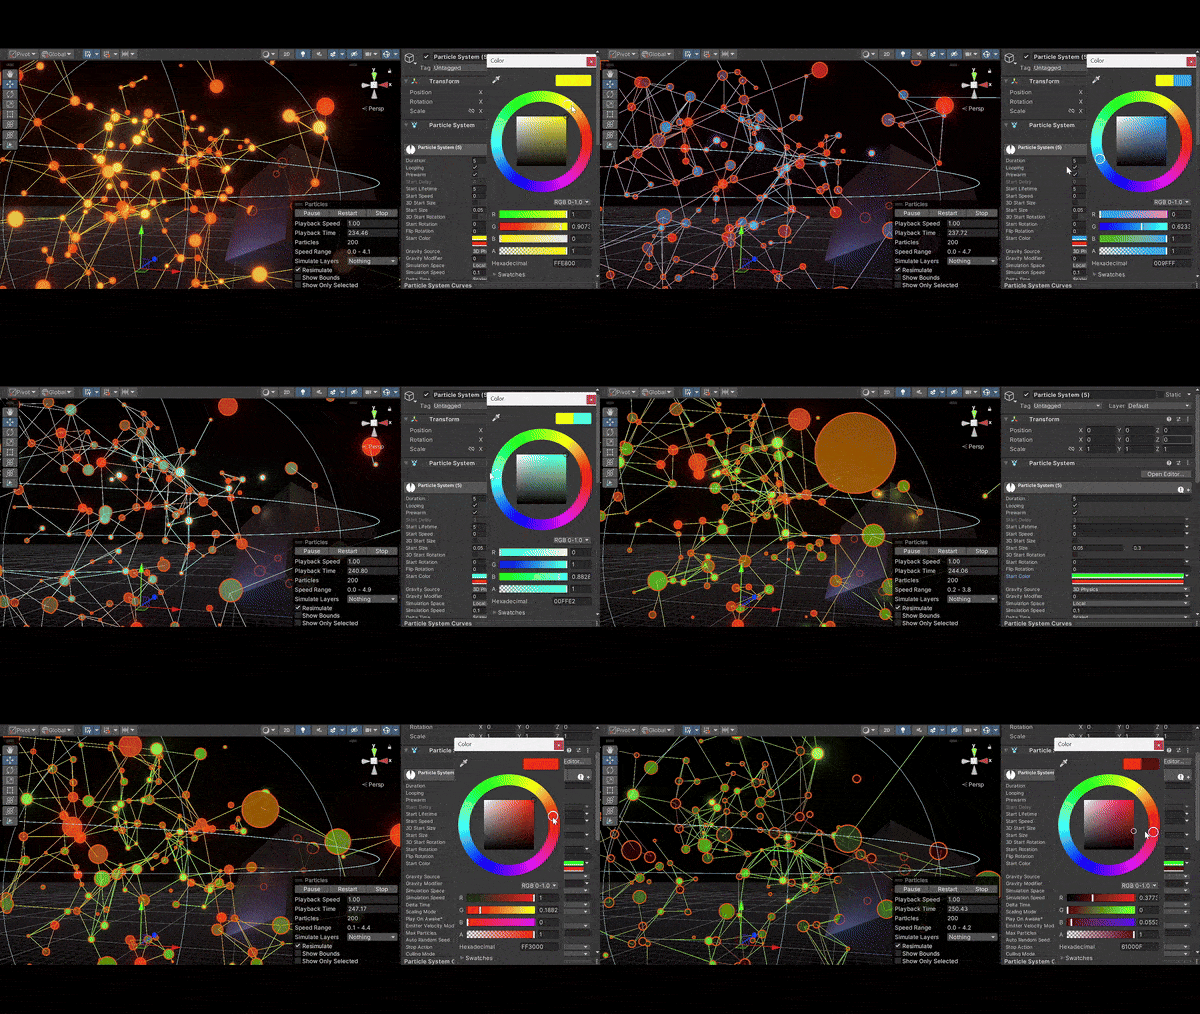
Unity Tutorial: Particle Plexus (Part 1)
Connect all nearby particles to each other in a particle system.
Intro
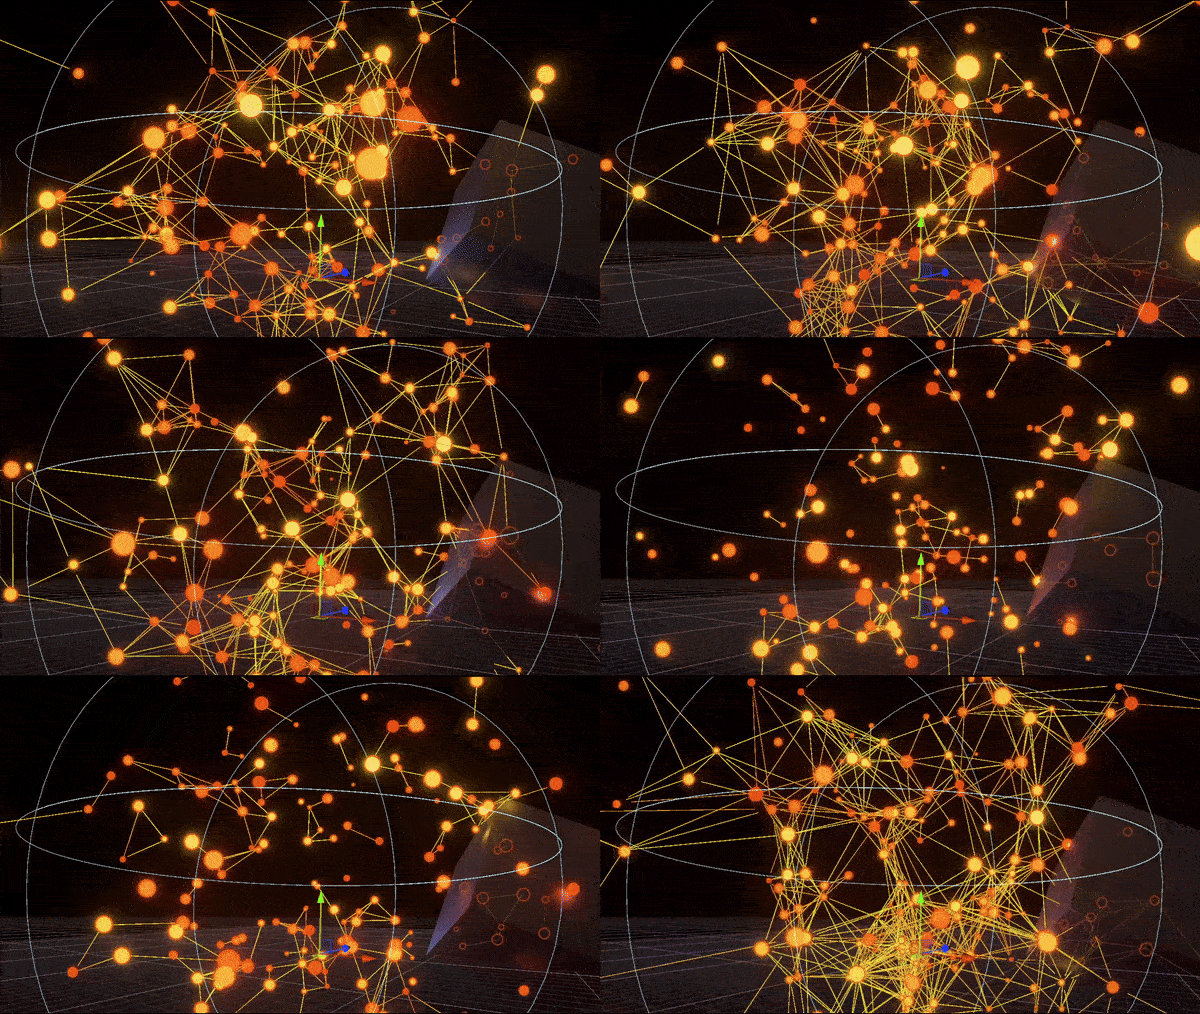
Plexus is a popular procedural/abstract effect in After Effects, which we can make procedurally in Unity.
Connect particles (w/ lines) that are within some distance of each other.
What does it mean? Plexus:
A network of connecting/interlacing vessels.
Interwoven parts in a structure or system.
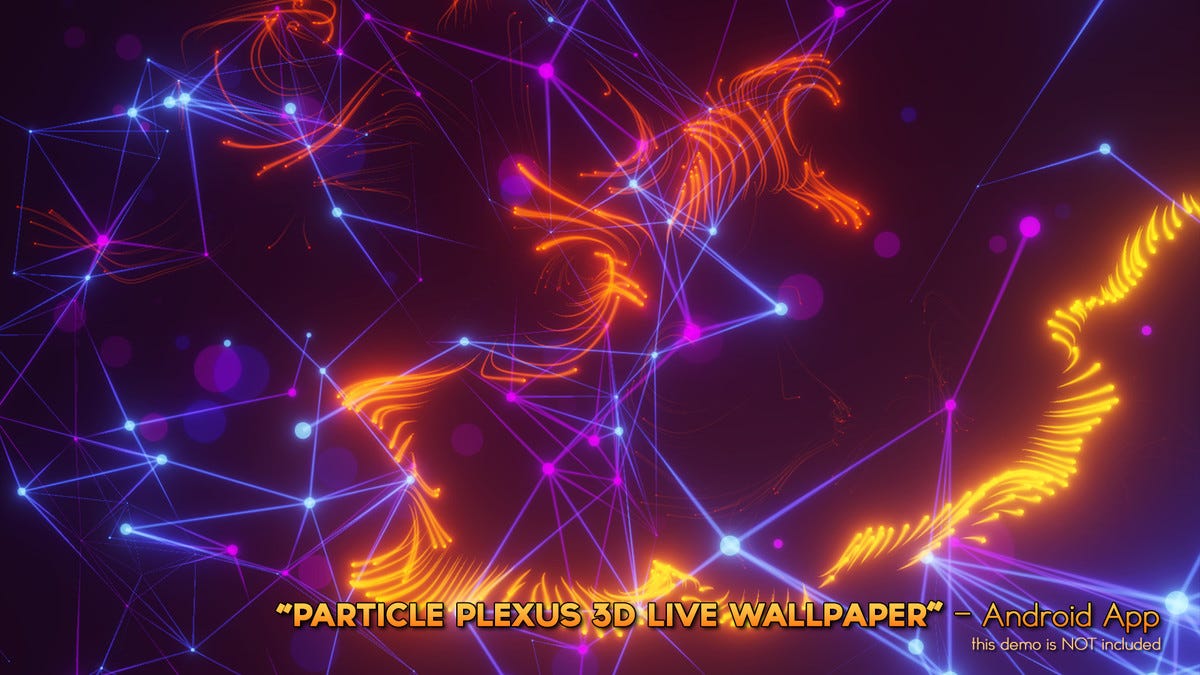
A fitting name, considering what ‘Plexus’ does/looks like. You can create lots of pretty constellation/technical-like abstract effects, as well as spawn from meshes.
I have an asset for it, too! Some examples:
We can create this effect with Unity’s particle system, Shuriken, and some code. For this written tutorial, we’ll create only the absolute, most basic outline necessary.
The full video tutorial is below for reference.
Core/Algorithm
The algorithm is simple: compare every particle with one another, and draw a line between those separated by a distance that’s below some ‘lineDist’ threshold.
for (int i = 0; i < n; i++)
    for (int j = i + 1; j < n; j++)
        if (Distance(p[i], p[j]) < lineDist)
            DrawLine(p[i], p[j]);
We can use GetParticles to fill up an array of Shuriken particles from any system.
Here’s the full script component, with comments. 💬
using UnityEngine;

[ExecuteAlways] // Run in editor.
public class ParticlePlexus : MonoBehaviour
{
    // Particle system and particles array/list.

    ParticleSystem ps;
    ParticleSystem.Particle[] p;

    // Line distance threshold.

    public float lineDist = 1.0f;

    void LateUpdate()
    {
        // Get particle system component if null.

        ps ??= GetComponent<ParticleSystem>();

        // Initialize particles array to max if null or size mismatch.

        if (p == null || p.Length != ps.main.maxParticles)
            p = new ParticleSystem.Particle[ps.main.maxParticles];

        // Load particles from system into our array.
        // n = particle count.

        int n = ps.GetParticles(p);

        // Compare each particle to every other particle.

        for (int i = 0; i < n; i++)
        {
            ParticleSystem.Particle pA = p[i];

            // i + 1, ignore self and previous pairs.

            for (int j = i + 1; j < n; j++)
            {
                ParticleSystem.Particle pB = p[j];

                // If distance between particles < threshold, draw line.

                if (Vector3.Distance(pA.position, pB.position) < lineDist)
                    Debug.DrawLine(pA.position, pB.position);
            }
        }
    }
}
Because of formatting, it’s looks a lot longer than it really is.
Below is an example of the same functional script, sans comments/formatting.
Attach to this to your particle system (or create one). The particle system should not be moved if it’s simulated locally. Make sure the transform is reset to defaults/origin.
Adjusting the lineDist affects how many lines/connections are found.
You can replace the line rendering logic with anything you’d like.
For example, using a list of pooled LineRenderers.
Colour
This is a function that can be used to render debug lines as gradients, taking inputs for start/end colour values, and the resolution of the line as segments.
// Render a line between pA and pB,
// with start/end colours cA and cB.

// n = number of segments to render.

static void DebugDrawLineGradient(
    Vector3 pA, Vector3 pB, Color cA, Color cB, uint n)
{
    for (uint i = 0; i < n; i++)
    {
        float t = i / (float)n;
        float tNext = (i + 1.0f) / n;

        Vector3 a = Vector3.Lerp(pA, pB, t);
        Vector3 b = Vector3.Lerp(pA, pB, tNext);

        Color c = Color.Lerp(cA, cB, t);

        Debug.DrawLine(a, b, c);
    }
}
Replace Debug.DrawLine() with the new DebugDrawLineGradient().
Thus, this line…
if (Vector3.Distance(pA.position, pB.position) < lineDist)
    Debug.DrawLine(pA.position, pB.position);
…becomes:
if (Vector3.Distance(pA.position, pB.position) < lineDist)
{
    Color cA = pA.GetCurrentColor(ps);
    Color cB = pB.GetCurrentColor(ps);

    // 8 = number of segments. Use whatever you like.

    DebugDrawLineGradient(pA.position, pB.position, cA, cB, 8);
}
GetCurrentColor is called on each particle pair for the start/end line colours.
That’s it.
Stay tuned!
In the next part, we’ll swap out the debug lines for real lines, thickness and all.
You can follow me on Twitter/X for more (@TheMirzaBeig)!







![2024-06-03 21-05-14.mp4 [optimize output image] 2024-06-03 21-05-14.mp4 [optimize output image]](https://substackcdn.com/image/fetch/$s_!nAxd!,w_1456,c_limit,f_auto,q_auto:good,fl_lossy/https%3A%2F%2Fsubstack-post-media.s3.amazonaws.com%2Fpublic%2Fimages%2F6c460219-bc9e-45f2-8ffa-a39ed8a0f90e_600x338.gif)
